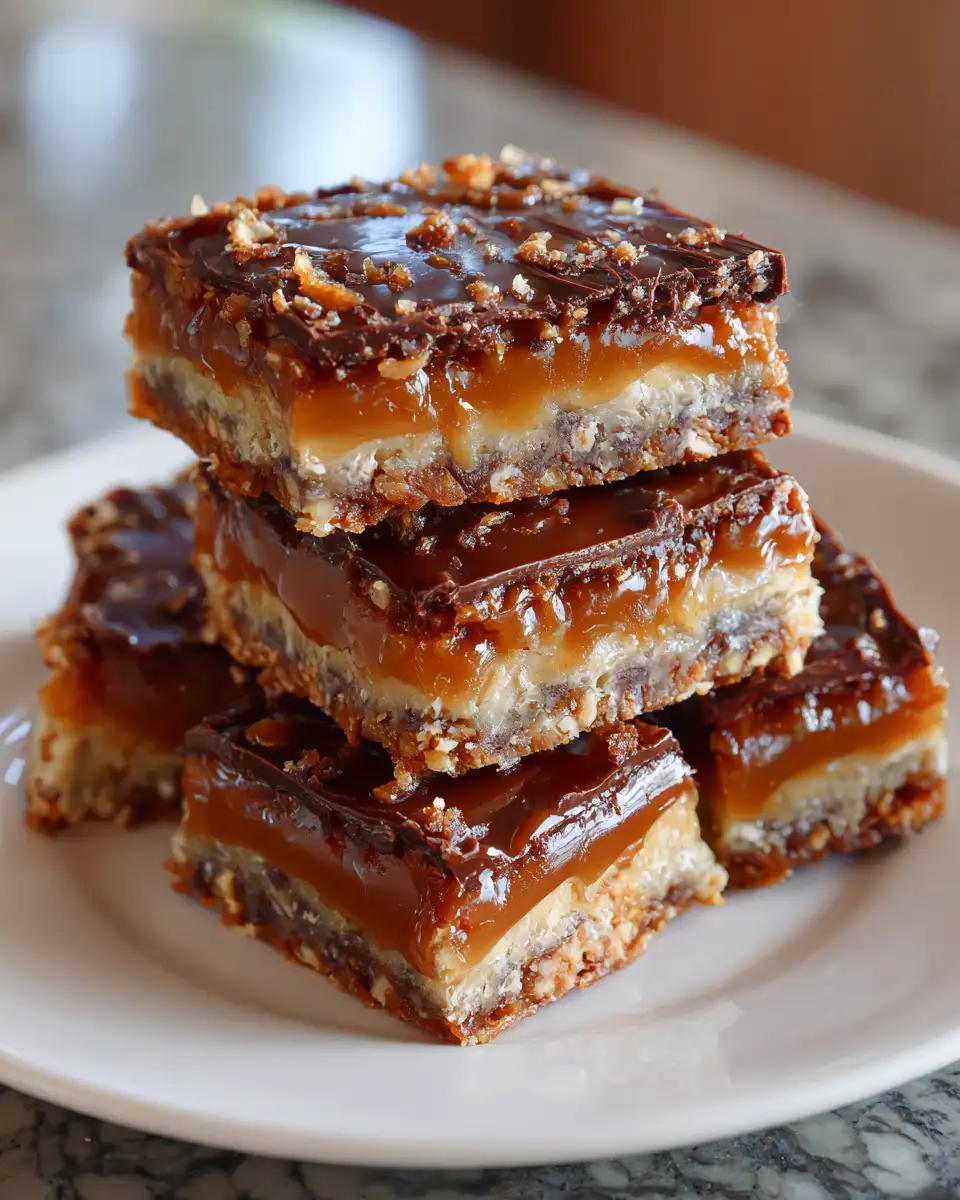
Irresistible Tasty Gooey Caramel Bars You Need to Try Today
There’s something utterly comforting about biting into Tasty Gooey Caramel Bars—the kind of treat that wraps you in a warm hug, much like the scent of freshly baked scones drifting through my childhood Devon cottage kitchen. Growing up, my mum’s baking was a daily ritual, a dance of flour-dusted surfaces and bubbling sweetness that turned ordinary days into lasting memories. These caramel bars are no different; they’re sticky, buttery, and just the right side of decadent, reminding me of those cosy mornings when I’d sneak in early, whisking and folding as if each fold was a brushstroke painting happiness into the day.
Table of Contents
Why You’ll Love This Tasty Gooey Caramel Bars
Every bite of these Tasty Gooey Caramel Bars is a journey back to those slow, sunlit mornings in Devon, where the kitchen always felt like the heart of the home. What makes these bars truly special is their perfect balance—rich, velvety caramel nestled between a crisp, buttery base and a sprinkle of sea salt that wakes up your taste buds. They’re not just a treat; they’re a story, a memory, a little slice of comfort in a busy world.
From my own experience, these bars are a crowd-pleaser whether you’re sharing them at a bustling Sunday roast or wrapping them up to gift to a neighbour. They’re straightforward to make, yet feel indulgent—just the way I like my recipes. The gooey caramel is luscious without being overpowering, and the base is sturdy enough to hold your crumbs together but tender enough to melt on your tongue. These bars are the kind of recipe that invites laughter, a cup of tea, and perhaps a bit of cheeky second helpings.
Ingredients You’ll Need for This Tasty Gooey Caramel Bars
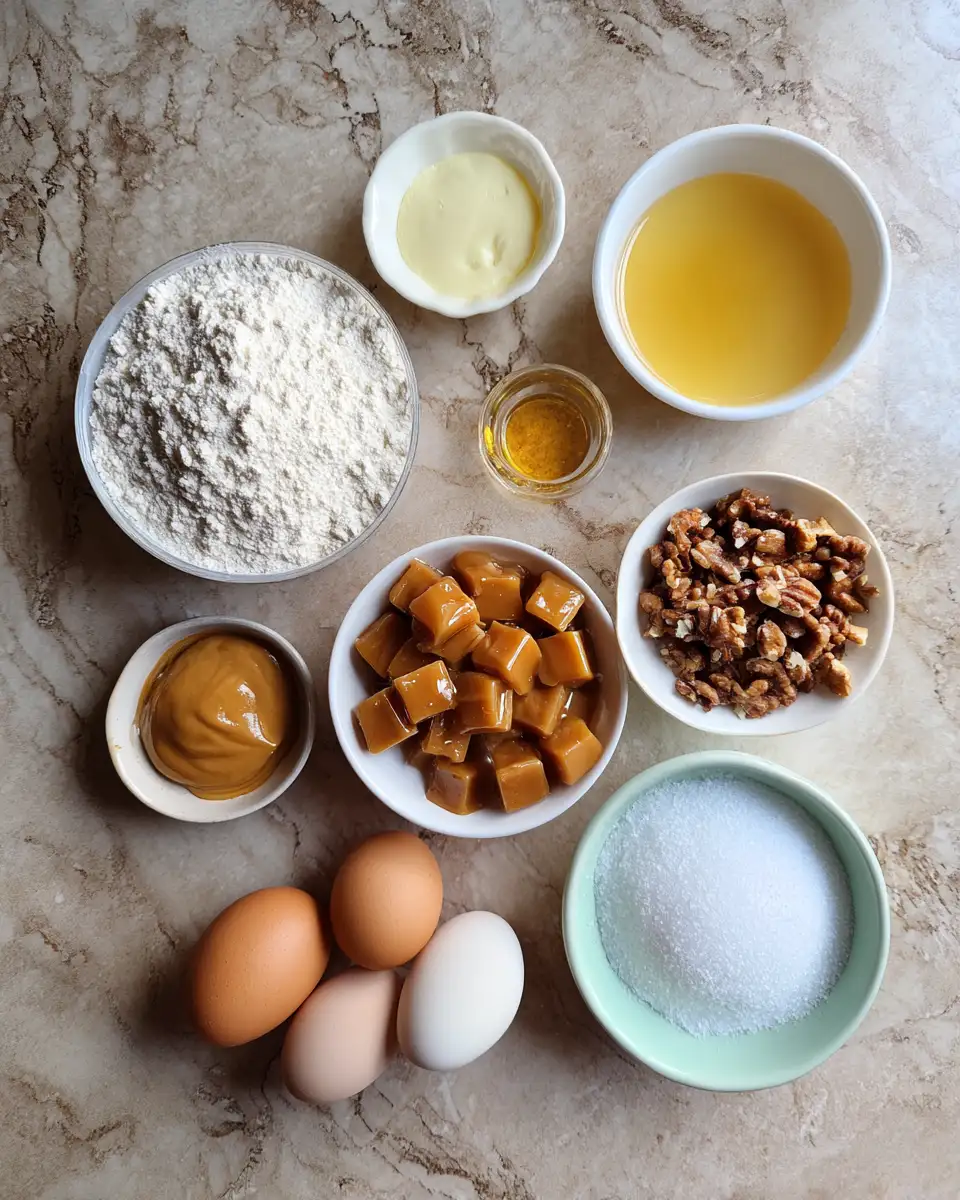
- 1 1/2 cups all-purpose flour (for a gluten-free option, substitute with almond flour)
- 1/2 teaspoon baking powder
- 1/4 teaspoon fine sea salt (plus extra for sprinkling)
- 3/4 cup unsalted butter, softened (room temperature is key for easy creaming)
- 2/3 cup light brown sugar, packed
- 1 large egg, free-range if possible
- 1 teaspoon vanilla extract (my mum swore by homemade vanilla for a richer flavour)
- 1 can (14 oz) sweetened condensed milk
- 1 cup soft caramel candies, chopped (or use quality store-bought caramel squares)
- Optional: 1/2 cup chopped toasted pecans or walnuts for extra crunch
Nutrition Facts
- Calories: Approximately 320 per serving (based on 12 bars)
- Protein: 3g
- Fat: 18g (mostly from butter and caramel)
- Carbohydrates: 38g
- Fiber: 1g
- Sugar: 26g (natural and added sugars from caramel and condensed milk)
- Sodium: 120mg
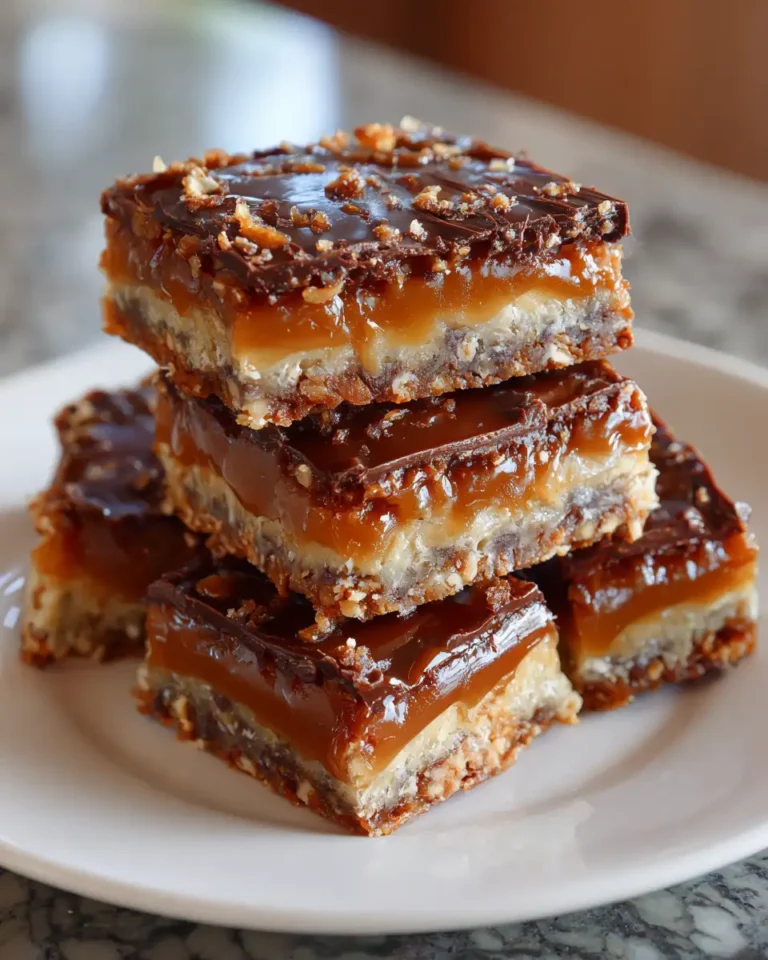
Irresistible Tasty Gooey Caramel Bars You Need to Try Today
Learn how to make delicious Tasty Gooey Caramel Bars. Easy recipe with step-by-step instructions.
- Total Time: 45 minutes
- Yield: 4 servings 1x
Ingredients
- 1 1/2 cups all-purpose flour (for a gluten-free option, substitute with almond flour)
- 1/2 teaspoon baking powder
- 1/4 teaspoon fine sea salt (plus extra for sprinkling)
- 3/4 cup unsalted butter, softened (room temperature is key for easy creaming)
- 2/3 cup light brown sugar, packed
- 1 large egg, free-range if possible
- 1 teaspoon vanilla extract (my mum swore by homemade vanilla for a richer flavour)
- 1 can (14 oz) sweetened condensed milk
- 1 cup soft caramel candies, chopped (or use quality store-bought caramel squares)
- Optional: 1/2 cup chopped toasted pecans or walnuts for extra crunch
Instructions
- Preheat your oven to 350°F (175°C). Line an 8×8-inch baking tin with parchment paper, leaving an overhang to lift the bars out easily later—this little trick saves endless scraping and keeps the edges neat.
- In a medium bowl, sift together the flour, baking powder, and salt. I like to keep this simple, but it’s crucial for an even crumb.
- In a large bowl, cream the softened butter and brown sugar together with a wooden spoon or electric mixer until the mixture is light and fluffy—about 4 minutes. This step is where the magic begins, just like those early mornings when I’d watch my mum’s hands moving effortlessly.
- Add the egg and vanilla extract to the butter mixture, beating until fully combined and smooth.
- Gradually fold in the dry ingredients until you have a soft dough. It should feel slightly sticky but manageable; if it feels too dry, add a teaspoon of milk.
- Press about two-thirds of the dough evenly into the bottom of your prepared tin, creating a firm base. Use your fingers or the back of a spoon to smooth it out. This base is what holds all the gooey goodness together, so don’t rush this part.
- In a small saucepan over low heat, combine the sweetened condensed milk and chopped caramel candies. Stir constantly until the caramel melts into a silky, golden sauce—this usually takes about 5 minutes. Be patient; rushing can cause grainy caramel, and trust me, I’ve learned that the hard way!
- Pour the hot caramel over the pressed dough base, spreading it evenly. If you’re adding nuts, sprinkle them gently over the caramel now for a lovely texture contrast.
- Crumble the remaining dough over the caramel layer, leaving some gaps so the caramel peeks through as it bakes.
- Lightly sprinkle a pinch of sea salt over the top to balance the sweetness. This small flourish is a nod to my mum’s baking style—never too sweet, always just right.
- Bake for 25-30 minutes or until the top is golden and the caramel is bubbling at the edges. The kitchen will smell like the kind of Sunday afternoons I remember fondly—warm, inviting, and full of possibility.
- Allow the bars to cool completely in the tin before lifting them out using the parchment overhang. Cut into 12 squares with a sharp knife. I find it helps to chill them briefly in the fridge to get clean cuts and keep all that gooey caramel intact.
- Prep Time: 15 minutes
- Cook Time: 30 minutes
- Category: Main Dish
- Method: Cooking
- Cuisine: International
Steps to Create Your Tasty Gooey Caramel Bars
- Preheat your oven to 350°F (175°C). Line an 8×8-inch baking tin with parchment paper, leaving an overhang to lift the bars out easily later—this little trick saves endless scraping and keeps the edges neat.
- In a medium bowl, sift together the flour, baking powder, and salt. I like to keep this simple, but it’s crucial for an even crumb.
- In a large bowl, cream the softened butter and brown sugar together with a wooden spoon or electric mixer until the mixture is light and fluffy—about 4 minutes. This step is where the magic begins, just like those early mornings when I’d watch my mum’s hands moving effortlessly.
- Add the egg and vanilla extract to the butter mixture, beating until fully combined and smooth.
- Gradually fold in the dry ingredients until you have a soft dough. It should feel slightly sticky but manageable; if it feels too dry, add a teaspoon of milk.
- Press about two-thirds of the dough evenly into the bottom of your prepared tin, creating a firm base. Use your fingers or the back of a spoon to smooth it out. This base is what holds all the gooey goodness together, so don’t rush this part.
- In a small saucepan over low heat, combine the sweetened condensed milk and chopped caramel candies. Stir constantly until the caramel melts into a silky, golden sauce—this usually takes about 5 minutes. Be patient; rushing can cause grainy caramel, and trust me, I’ve learned that the hard way!
- Pour the hot caramel over the pressed dough base, spreading it evenly. If you’re adding nuts, sprinkle them gently over the caramel now for a lovely texture contrast.
- Crumble the remaining dough over the caramel layer, leaving some gaps so the caramel peeks through as it bakes.
- Lightly sprinkle a pinch of sea salt over the top to balance the sweetness. This small flourish is a nod to my mum’s baking style—never too sweet, always just right.
- Bake for 25-30 minutes or until the top is golden and the caramel is bubbling at the edges. The kitchen will smell like the kind of Sunday afternoons I remember fondly—warm, inviting, and full of possibility.
- Allow the bars to cool completely in the tin before lifting them out using the parchment overhang. Cut into 12 squares with a sharp knife. I find it helps to chill them briefly in the fridge to get clean cuts and keep all that gooey caramel intact.
Tips for Making the Best Tasty Gooey Caramel Bars
When I first started baking, I often hurried through steps, only to end up with disappointing textures or flavours. These caramel bars have taught me that patience is everything, especially with the caramel melting.
- Use room temperature butter: It creams better with the sugar, creating that light and tender crust that contrasts beautifully with the gooey layer.
- Don’t rush the caramel: Stir slowly and consistently over low heat to get that perfect smooth texture without burning.
- Press the base firmly: This keeps the bars from crumbling apart when you slice them.
- Salt is your friend: A pinch of flaky sea salt on top cuts through the sweetness and elevates the whole experience.
- Experiment with nuts: Toasted pecans or walnuts add a lovely crunch that’s reminiscent of the nutty treats my mum used to bake.
Serving Suggestions and Pairings
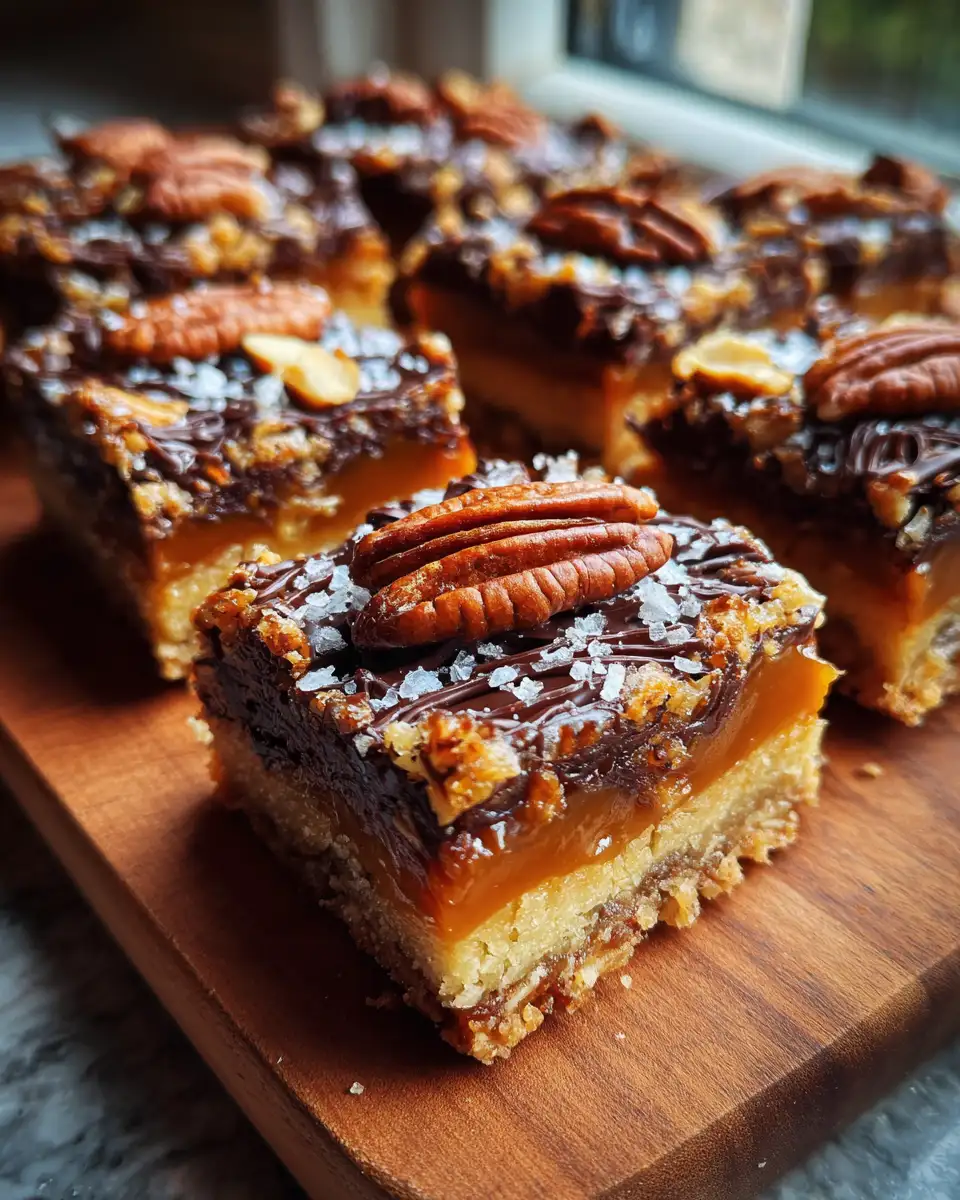
These bars are a versatile treat, perfect for a range of occasions. I love to serve them slightly warm with a generous pot of Earl Grey tea—its citrus notes play beautifully against the rich caramel. For a more indulgent twist, a scoop of vanilla bean ice cream alongside the bars turns an afternoon snack into a decadent dessert. Learn more: Brighten Your Day with Irresistible Lemon Impossible Pies
On chilly mornings, I’ve found that wrapping one of these bars in a napkin and taking it outside with a flask of hot tea makes for a simple, satisfying picnic—even if it’s just in the garden. They’re also brilliant for sharing at family gatherings, where the kitchen table is crowded and laughter fills the air, much like my own childhood Sundays.
Storage and Reheating Tips
Like many of my favourite recipes, these Tasty Gooey Caramel Bars keep surprisingly well. Store them in an airtight container at room temperature for up to three days. If you want to keep them longer, they freeze beautifully—wrap each bar individually in parchment and place them in a freezer-safe box for up to two months.
To reheat, simply pop a bar in the microwave for about 15-20 seconds. The caramel softens wonderfully, bringing back that fresh-from-the-oven warmth. Just don’t overheat, or the butter in the base can become oily. From my own kitchen adventures, I’ve learned that a gentle touch makes all the difference.
Frequently Asked Questions
What are the main ingredients for Tasty Gooey Caramel Bars?
The main ingredients for Tasty Gooey Caramel Bars include the items listed in our ingredients section above. Each ingredient plays a crucial role in achieving the perfect flavor and texture.
How long does it take to make Tasty Gooey Caramel Bars?
The total time to make Tasty Gooey Caramel Bars includes both preparation and cooking time. Check the recipe card above for exact timing details.
Can I make Tasty Gooey Caramel Bars ahead of time?
Yes, Tasty Gooey Caramel Bars can often be prepared in advance. Store it properly in an airtight container in the refrigerator and consume within the recommended timeframe.
What can I serve with Tasty Gooey Caramel Bars?
Tasty Gooey Caramel Bars pairs well with various sides and accompaniments. Consider the serving suggestions mentioned in the recipe for the best dining experience.
Is Tasty Gooey Caramel Bars suitable for special diets?
Depending on the ingredients used, Tasty Gooey Caramel Bars may be adapted for various dietary needs. Check the ingredients list and consider substitutions as needed for your dietary requirements.
Final Thoughts
These Tasty Gooey Caramel Bars are more than just a recipe—they’re a little piece of my Devon childhood, a reminder that the best food is the kind that fills your heart as much as your stomach. Each batch carries the spirit of those early mornings spent whisking alongside my mum, the laughter echoing around a too-small kitchen table, and the simple joy of sharing something sweet.
“Food isn’t just for eating — it’s for remembering.”
I hope these bars find a place in your kitchen and your heart, sparking new memories just as they have for me. Whether you’re baking for family, friends, or simply to treat yourself, know that every bite is a celebration of warmth, comfort, and a little bit of magic.

