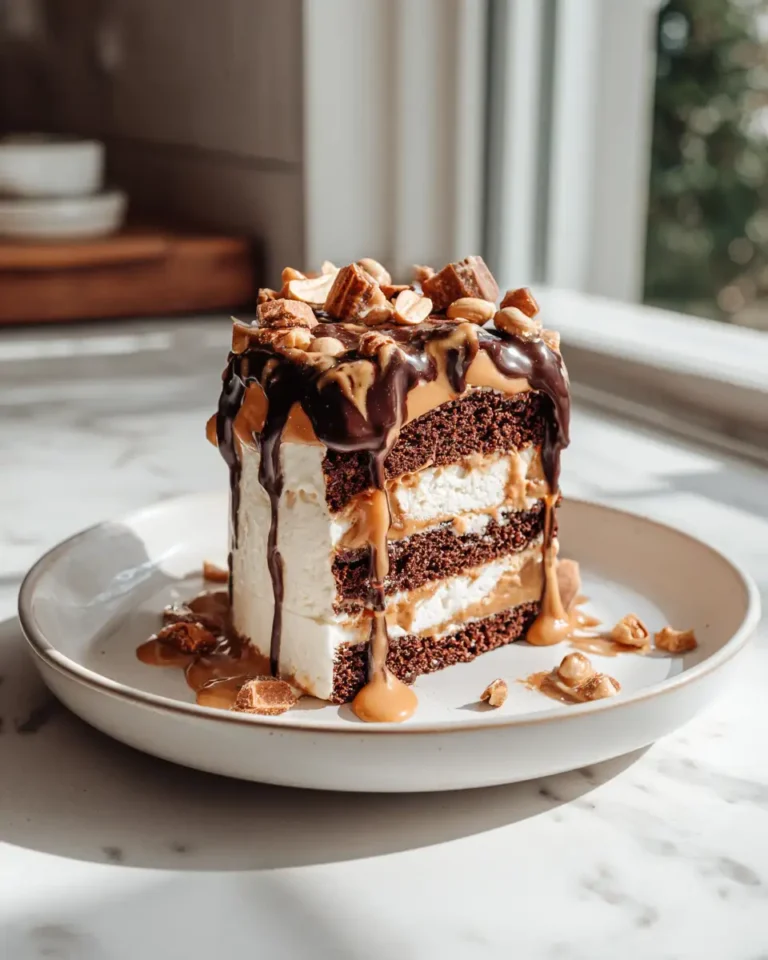
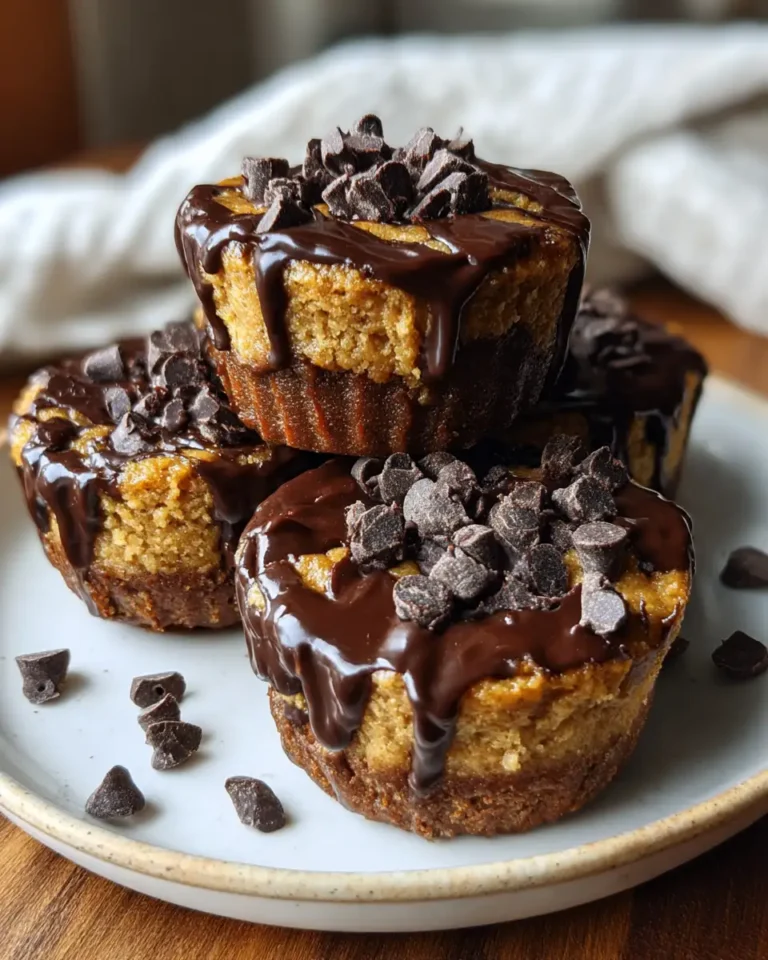
Irresistible Peanut Butter Brownie Swirl Cookies You Have to Try
There’s something utterly comforting about the aroma of freshly baked cookies wafting through a rural cottage kitchen — it always takes me back to those early mornings in Devon, sneaking downstairs to find my mum already at the stove, a warm tray of delights cooling on the windowsill. These Peanut Butter Brownie Swirl Cookies are the kind of treat that would have had me hovering by the oven, waiting eagerly for just one crumb. They marry the deep, fudgy richness of brownies with the creamy, nutty warmth of peanut butter, swirling together like a memory folded into every bite. For me, baking these cookies is not just about satisfying a sweet tooth; it’s about capturing that sense of home, the laughter-filled kitchen, and the simple joy of sharing something made with love.
Table of Contents
Why You’ll Love This Peanut Butter Brownie Swirl Cookies
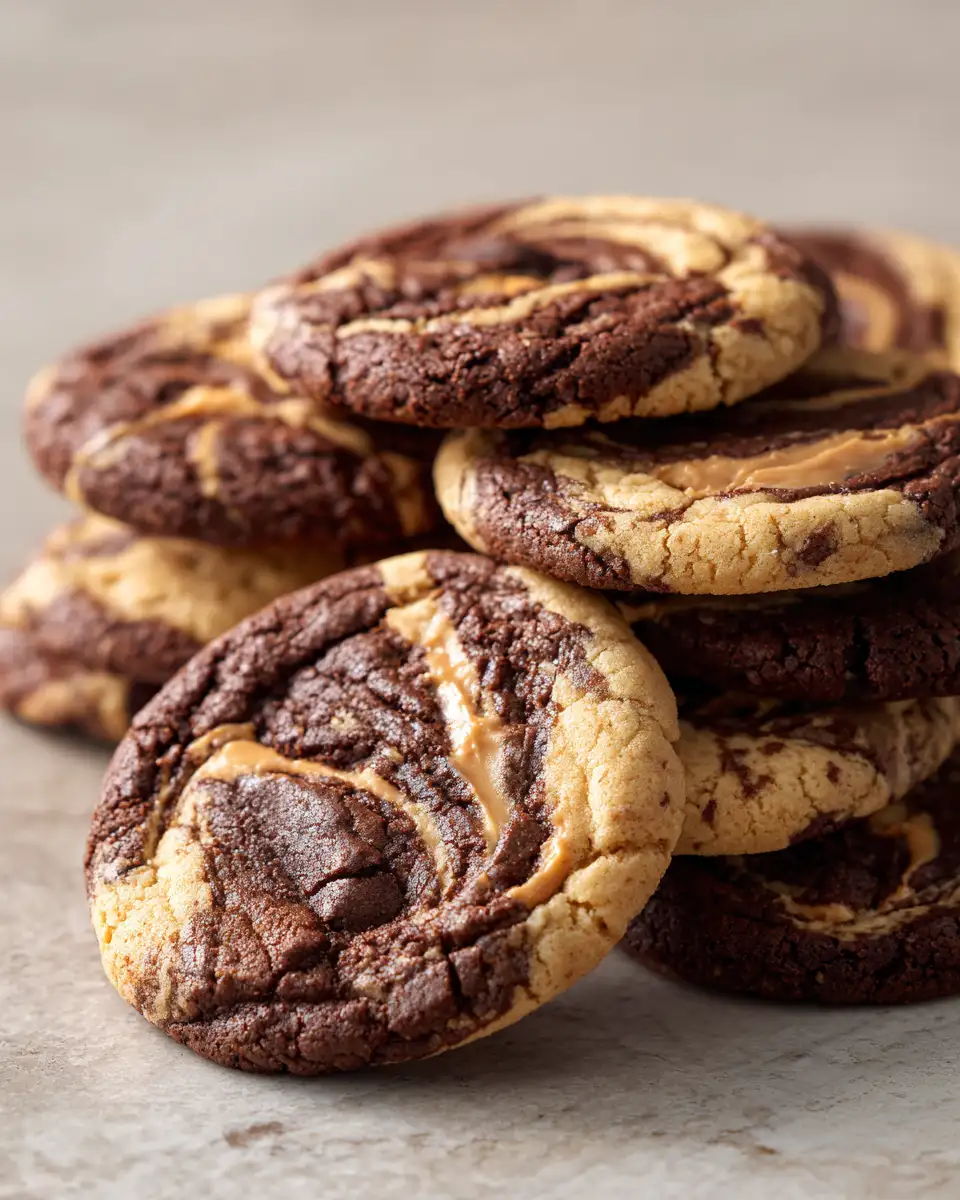
From the moment I first tasted a swirl of peanut butter folded into rich brownie batter, I knew I’d stumbled on a little bit of magic. These cookies strike a perfect balance — chewy with a slight crisp around the edges, dense and fudgy inside, and that unmistakable peanut butter creaminess that cuts through the chocolatey richness. If you’ve ever found yourself torn between wanting a brownie or a peanut butter cookie, well, this recipe solves that dilemma beautifully.
Growing up in the countryside, I learned that food is a vessel for memory and emotion, and these cookies carry that tradition forward. They’re ideal for cozy afternoons with a pot of tea, or for packing into lunchboxes that will brighten someone’s day. Plus, they’re surprisingly straightforward to make, even if you’re more accustomed to Sunday roasts than baking adventures.
Ingredients You’ll Need for This Peanut Butter Brownie Swirl Cookies
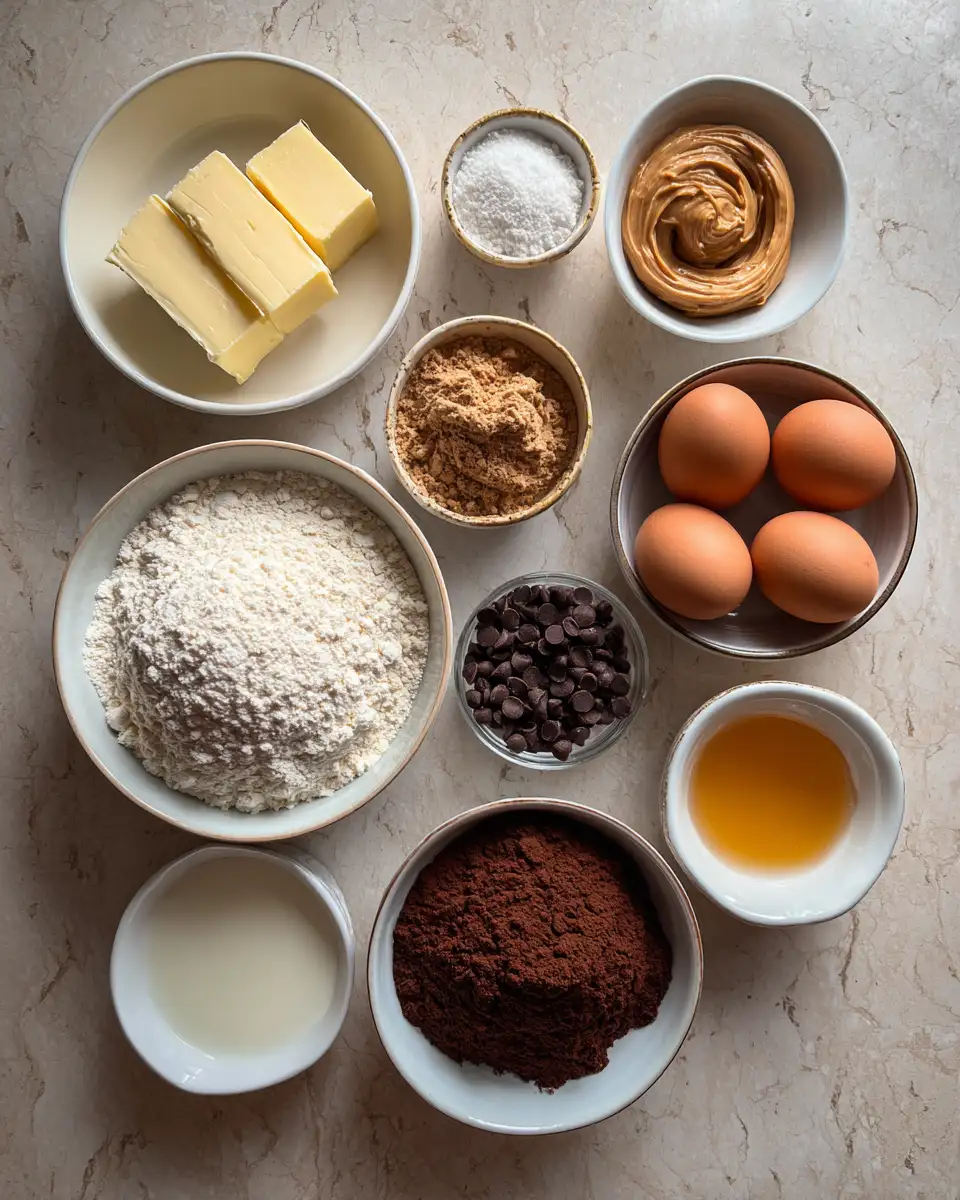
- 1 cup (225g) unsalted butter, melted and slightly cooled
- 1 cup (200g) granulated sugar
- 1 cup (220g) packed light brown sugar
- 2 large eggs, at room temperature
- 2 teaspoons vanilla extract
- 1 cup (125g) all-purpose flour
- ¾ cup (75g) unsweetened cocoa powder
- ½ teaspoon baking soda
- ½ teaspoon salt
- ¾ cup (200g) creamy peanut butter, divided
- ½ cup (90g) semi-sweet chocolate chips (optional, for extra richness)
Substitution tips: If you’re gluten-free, you can swap the all-purpose flour for a 1:1 gluten-free baking flour blend—just make sure it includes xanthan gum for structure. For a dairy-free version, use coconut oil instead of butter, but keep in mind this might slightly alter the texture. And if you prefer crunchy peanut butter for a bit of texture, go for it—my mum often added a pinch of nostalgia with her favourite crunchy jar.
Nutrition Facts
- Calories: Approximately 220 per cookie (based on 24 cookies)
- Protein: 4g
- Fat: 12g (mostly from butter and peanut butter)
- Carbohydrates: 25g
- Fiber: 2g
- Sugar: 18g
- Sodium: 150mg
These cookies are a treat, so while they’re not light on sugar or fat, they provide a decent hit of protein from the peanut butter and eggs. As with all good baking, balance is key — a little indulgence alongside a wholesome meal or a brisk walk around the countryside is exactly how my family enjoyed our sweet moments. Learn more: Irresistible Honey Peach Cream Cheese Cupcakes Recipe You Have to Try
Print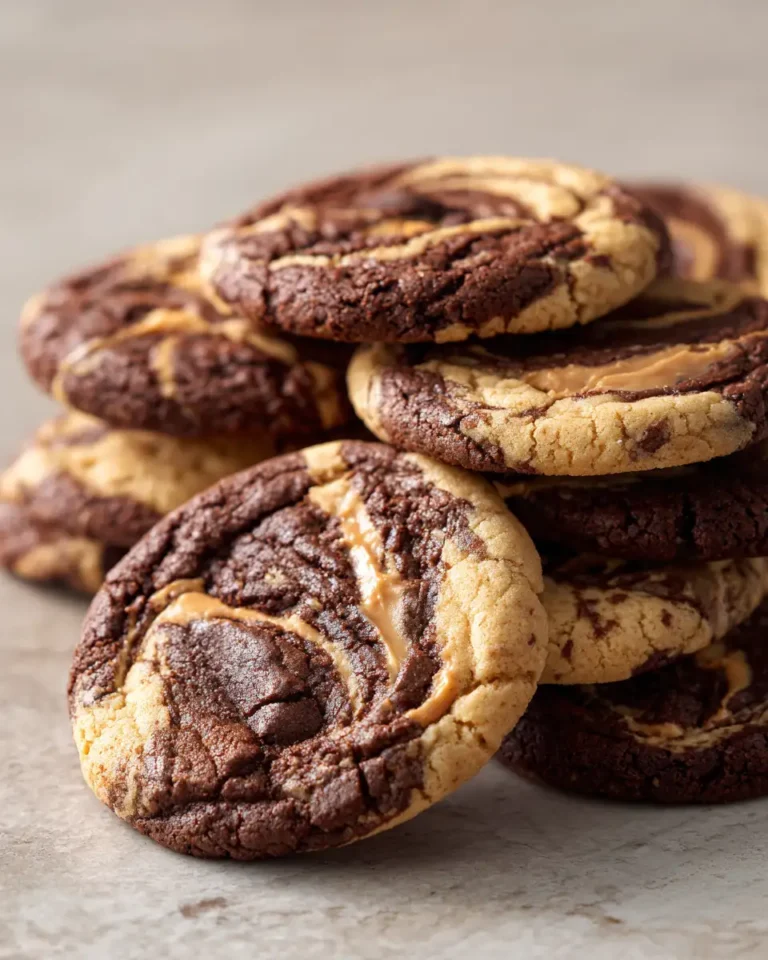
Irresistible Peanut Butter Brownie Swirl Cookies You Have to Try
Learn how to make delicious Peanut Butter Brownie Swirl Cookies. Easy recipe with step-by-step instructions.
- Total Time: 45 minutes
- Yield: 4 servings 1x
Ingredients
- 1 cup (225g) unsalted butter, melted and slightly cooled
- 1 cup (200g) granulated sugar
- 1 cup (220g) packed light brown sugar
- 2 large eggs, at room temperature
- 2 teaspoons vanilla extract
- 1 cup (125g) all-purpose flour
- ¾ cup (75g) unsweetened cocoa powder
- ½ teaspoon baking soda
- ½ teaspoon salt
- ¾ cup (200g) creamy peanut butter, divided
- ½ cup (90g) semi-sweet chocolate chips (optional, for extra richness)
Substitution tips: If you’re gluten-free, you can swap the all-purpose flour for a 1:1 gluten-free baking flour blend—just make sure it includes xanthan gum for structure. For a dairy-free version, use coconut oil instead of butter, but keep in mind this might slightly alter the texture. And if you prefer crunchy peanut butter for a bit of texture, go for it—my mum often added a pinch of nostalgia with her favourite crunchy jar.
Instructions
- Preheat your oven to 350°F (175°C) and line two baking sheets with parchment paper. A well-prepped baking tray is the foundation of good cookies — I’ve learned that from many a sticky-fingered morning in my mum’s kitchen.
- In a large bowl, whisk together the melted butter with the granulated and brown sugars until smooth and glossy, about 2-3 minutes. This step sets the stage for your cookies’ tender crumb.
- Add the eggs one at a time, beating well after each addition, then stir in the vanilla extract. I always let my eggs come to room temperature first — it helps everything blend more harmoniously, a little trick my mum shared when I was ten and still mastering the whisk.
- In a separate bowl, sift together the flour, cocoa powder, baking soda, and salt. This ensures no lumps sneak into your batter, just like the smoothness of a well-tended kitchen.
- Gradually fold the dry ingredients into the wet mixture until just combined — resist the urge to overmix or you’ll end up with tougher cookies, a lesson learned after one too many chewy batches in my early baking days.
- Gently fold in the chocolate chips, if using. These add delightful pockets of melted chocolate, making these cookies even more indulgent.
- In a small bowl, warm the peanut butter slightly to make it more pliable — a quick 15 seconds in the microwave usually does the trick. Dollop spoonfuls of peanut butter onto the brownie batter and use a butter knife or skewer to swirl it through the dough in a marbled pattern. Don’t over-swirl; you want distinct ribbons of peanut butter and chocolate.
- Using a tablespoon or cookie scoop, drop mounds of the swirled dough onto your prepared baking sheets, spacing them about 2 inches apart to allow for spreading.
- Bake for 10-12 minutes, until the edges are set and the centers look slightly soft but not wet. The smell at this point is divine — one of those moments I find myself sneaking a quick taste of warm dough (don’t tell Mum!).
- Allow the cookies to cool on the baking sheet for 5 minutes before transferring to a wire rack to cool completely. They’ll firm up as they cool, giving you that perfect chewy yet tender bite.
- Prep Time: 15 minutes
- Cook Time: 30 minutes
- Category: Main Dish
- Method: Cooking
- Cuisine: International
Steps to Create Your Peanut Butter Brownie Swirl Cookies
- Preheat your oven to 350°F (175°C) and line two baking sheets with parchment paper. A well-prepped baking tray is the foundation of good cookies — I’ve learned that from many a sticky-fingered morning in my mum’s kitchen.
- In a large bowl, whisk together the melted butter with the granulated and brown sugars until smooth and glossy, about 2-3 minutes. This step sets the stage for your cookies’ tender crumb.
- Add the eggs one at a time, beating well after each addition, then stir in the vanilla extract. I always let my eggs come to room temperature first — it helps everything blend more harmoniously, a little trick my mum shared when I was ten and still mastering the whisk.
- In a separate bowl, sift together the flour, cocoa powder, baking soda, and salt. This ensures no lumps sneak into your batter, just like the smoothness of a well-tended kitchen.
- Gradually fold the dry ingredients into the wet mixture until just combined — resist the urge to overmix or you’ll end up with tougher cookies, a lesson learned after one too many chewy batches in my early baking days.
- Gently fold in the chocolate chips, if using. These add delightful pockets of melted chocolate, making these cookies even more indulgent.
- In a small bowl, warm the peanut butter slightly to make it more pliable — a quick 15 seconds in the microwave usually does the trick. Dollop spoonfuls of peanut butter onto the brownie batter and use a butter knife or skewer to swirl it through the dough in a marbled pattern. Don’t over-swirl; you want distinct ribbons of peanut butter and chocolate.
- Using a tablespoon or cookie scoop, drop mounds of the swirled dough onto your prepared baking sheets, spacing them about 2 inches apart to allow for spreading.
- Bake for 10-12 minutes, until the edges are set and the centers look slightly soft but not wet. The smell at this point is divine — one of those moments I find myself sneaking a quick taste of warm dough (don’t tell Mum!).
- Allow the cookies to cool on the baking sheet for 5 minutes before transferring to a wire rack to cool completely. They’ll firm up as they cool, giving you that perfect chewy yet tender bite.
Tips for Making the Best Peanut Butter Brownie Swirl Cookies
Every kitchen has its quirks, and over the years in my little Devon cottage, I’ve picked up a few handy tips to ensure success with this recipe:
- Butter temperature matters: Melted but cooled butter blends better with sugars, giving a lovely texture. Too hot, and it can cook the eggs prematurely.
- Don’t overmix your batter: This keeps your cookies tender and fudgy, reminiscent of those cozy afternoons baking with my mum’s patient guidance.
- Peanut butter swirl technique: Warm your peanut butter slightly before swirling for easy marbling without sinking to the bottom.
- Use parchment paper or silicone mats: This prevents sticking and helps the cookies bake evenly — a little kitchen magic I learned when baking countless batches of scones and crumbles.
- Cool before storing: Patience is a virtue, especially when it comes to cookies. Letting them cool fully ensures they keep their shape and texture.
Serving Suggestions and Pairings
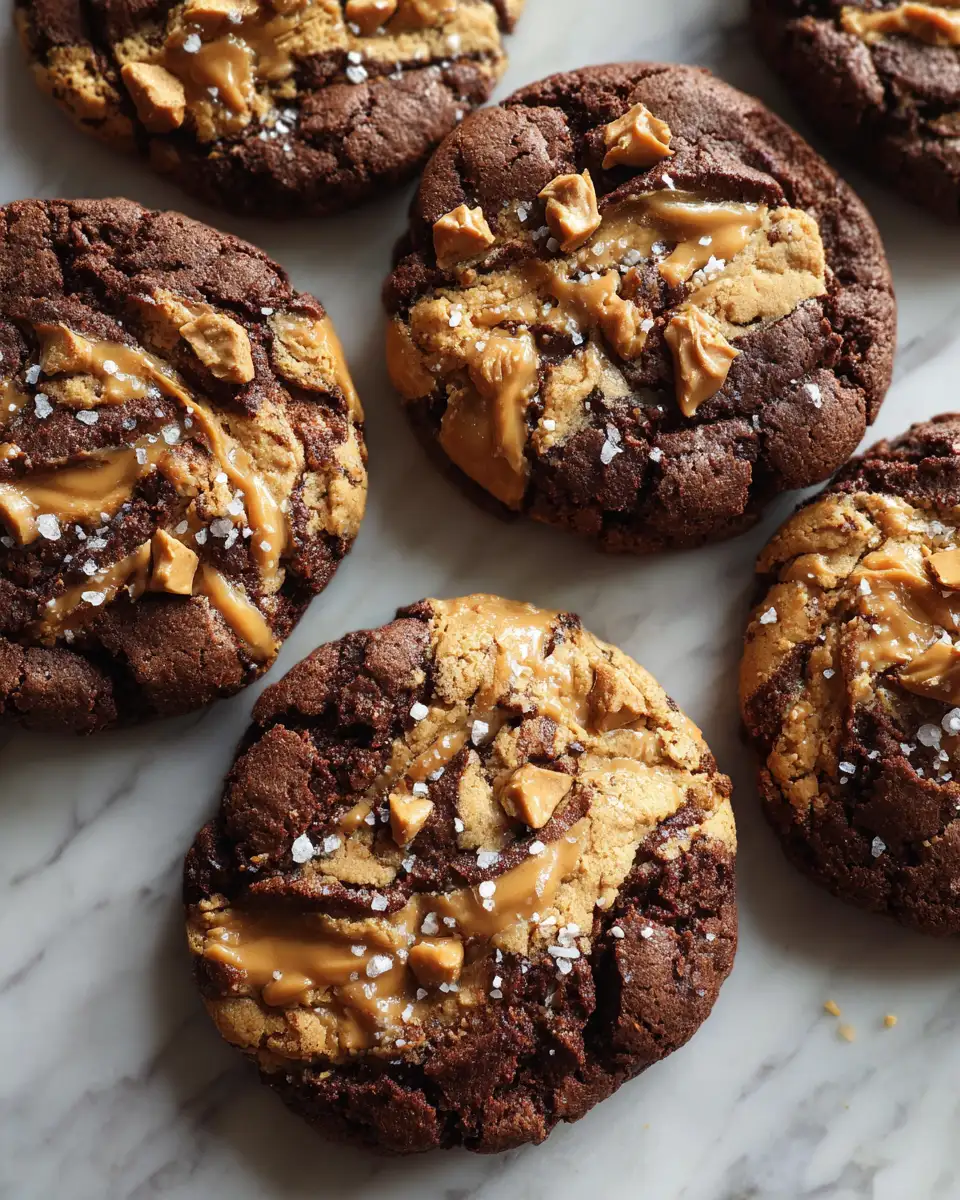
These Peanut Butter Brownie Swirl Cookies are a versatile treat that shines in many settings. I’ve often served them alongside a steaming pot of Devonshire tea, a nod to my childhood kitchen where tea was always the heart of any gathering.
Here are a few ways to enjoy them:
- Warm with a scoop of vanilla ice cream for a decadent dessert.
- Paired with a cold glass of milk or a cup of black coffee for a mid-afternoon pick-me-up.
- Crumbled over Greek yogurt with a drizzle of honey for a quick and indulgent breakfast.
- Wrapped up in parchment paper and tied with string, they make a heartfelt homemade gift for friends and neighbours, just like my mum used to do on chilly winter mornings.
Storage and Reheating Tips
Just like the best memories, these cookies keep well and can be enjoyed days after baking, though they rarely last that long in my house! Here’s how I preserve their freshness:
- Store in an airtight container at room temperature for up to 5 days. I find layering them between sheets of parchment paper helps avoid any sticky situations.
- For longer storage, freeze the cookies in a single layer on a baking sheet, then transfer to a freezer-safe bag. They’ll keep well for up to 3 months.
- To reheat, pop them in a preheated oven at 300°F (150°C) for 5-7 minutes or microwave for 15-20 seconds. The warmth revives that gooey, freshly baked feeling — just like coming home to a warm kitchen after a long day outdoors.
Frequently Asked Questions
What are the main ingredients for Peanut Butter Brownie Swirl Cookies?
The main ingredients for Peanut Butter Brownie Swirl Cookies include the items listed in our ingredients section above. Each ingredient plays a crucial role in achieving the perfect flavor and texture.
How long does it take to make Peanut Butter Brownie Swirl Cookies?
The total time to make Peanut Butter Brownie Swirl Cookies includes both preparation and cooking time. Check the recipe card above for exact timing details.
Can I make Peanut Butter Brownie Swirl Cookies ahead of time?
Yes, Peanut Butter Brownie Swirl Cookies can often be prepared in advance. Store it properly in an airtight container in the refrigerator and consume within the recommended timeframe.
What can I serve with Peanut Butter Brownie Swirl Cookies?
Peanut Butter Brownie Swirl Cookies pairs well with various sides and accompaniments. Consider the serving suggestions mentioned in the recipe for the best dining experience.
Is Peanut Butter Brownie Swirl Cookies suitable for special diets?
Depending on the ingredients used, Peanut Butter Brownie Swirl Cookies may be adapted for various dietary needs. Check the ingredients list and consider substitutions as needed for your dietary requirements.
Final Thoughts
These Peanut Butter Brownie Swirl Cookies are more than just a recipe — they’re a little piece of my childhood, folded into every bite. Baking them brings me back to those quiet mornings in a Devon kitchen, where flour dusted the windowsill, and the air was thick with the scent of cinnamon and sweet memories. Whether you’re baking to celebrate, to comfort, or simply to enjoy a moment of sweet indulgence, these cookies offer a perfect harmony of flavour and texture that’s hard to resist.
“Food isn’t just for eating — it’s for remembering.”
So, roll up your sleeves, get your hands messy, and let these cookies become part of your own story, shared around a crowded table or savoured quietly with a good cup of tea. After all, the best recipes are the ones that taste like home.

