Ingredients
Scale
- 1 cup creamy peanut butter (natural and unsweetened works beautifully; for a smoother texture, you can substitute with almond butter)
- 1/4 cup unsalted butter, softened
- 1/4 cup powdered sugar (adjust to taste for sweetness)
- 1/2 teaspoon vanilla extract (adds a lovely depth, reminiscent of my mum’s classic baking)
- 2 cups good-quality dark or milk chocolate chips (I prefer 60% dark for a balance of sweet and bitter)
- Pinch of sea salt (optional, but it brings out the peanut butter flavour like nothing else)
If you’re gluten-free or dairy-free, look for chocolate chips and butter alternatives that suit your needs — coconut oil can sometimes replace butter for a dairy-free version, and many brands offer allergy-friendly chocolate chips that still melt beautifully.
Instructions
- Begin by lining a standard 12-cup muffin tin with paper liners. This makes removal easier and keeps your cups neat.
- In a medium bowl, combine the creamy peanut butter, softened butter, powdered sugar, and vanilla extract. Use a wooden spoon or hand mixer to blend until smooth and creamy. This step reminds me of those early mornings when I’d sneak into the kitchen, folding ingredients gently as if painting a memory.
- Melt the chocolate chips in a heatproof bowl over a pan of simmering water, stirring frequently until smooth and glossy. Alternatively, melt in 30-second bursts in the microwave, stirring each time to avoid burning.
- Pour about one tablespoon of melted chocolate into each paper-lined cup, gently swirling the pan to spread the chocolate evenly over the base and a little up the sides. This thin chocolate layer is your shell — delicate but strong enough to hold the filling.
- Place the tin in the fridge for about 10 minutes to let the chocolate set. I find this pause is perfect for a quick cup of tea or a moment to tidy the kitchen, just as my mum would do between batches.
- Once the base is firm, spoon about a tablespoon of the peanut butter mixture into each cup, smoothing the top gently with the back of the spoon.
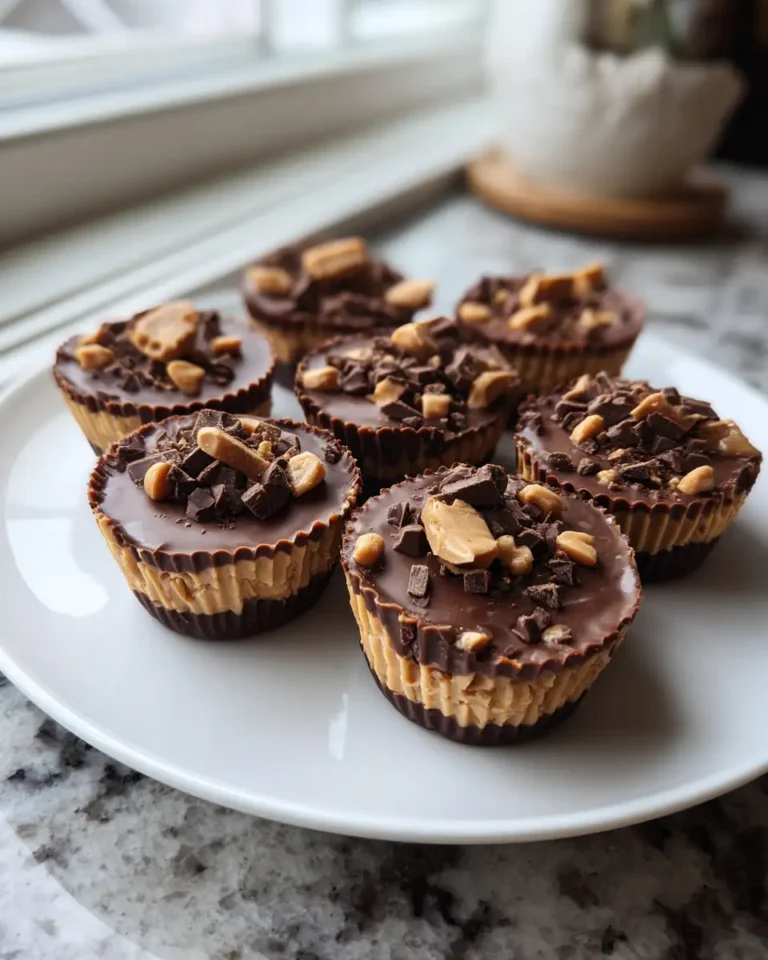
- Top each cup with another tablespoon of melted chocolate, ensuring the peanut butter filling is completely covered. If you like, sprinkle a tiny pinch of sea salt on top for that salty-sweet contrast that makes these cups truly special.
- Return the tin to the fridge and chill for at least 30 minutes, or until the chocolate is fully set and firm to the touch.
- Carefully peel away the paper liners and serve. These cups keep well, but I have to admit, they rarely last long in my house — they’re just too tempting!
- Prep Time: 15 minutes
- Cook Time: 30 minutes
- Category: Main Dish
- Method: Cooking
- Cuisine: International