Chill Out with the Ultimate Brownie Refrigerator Cake Delight
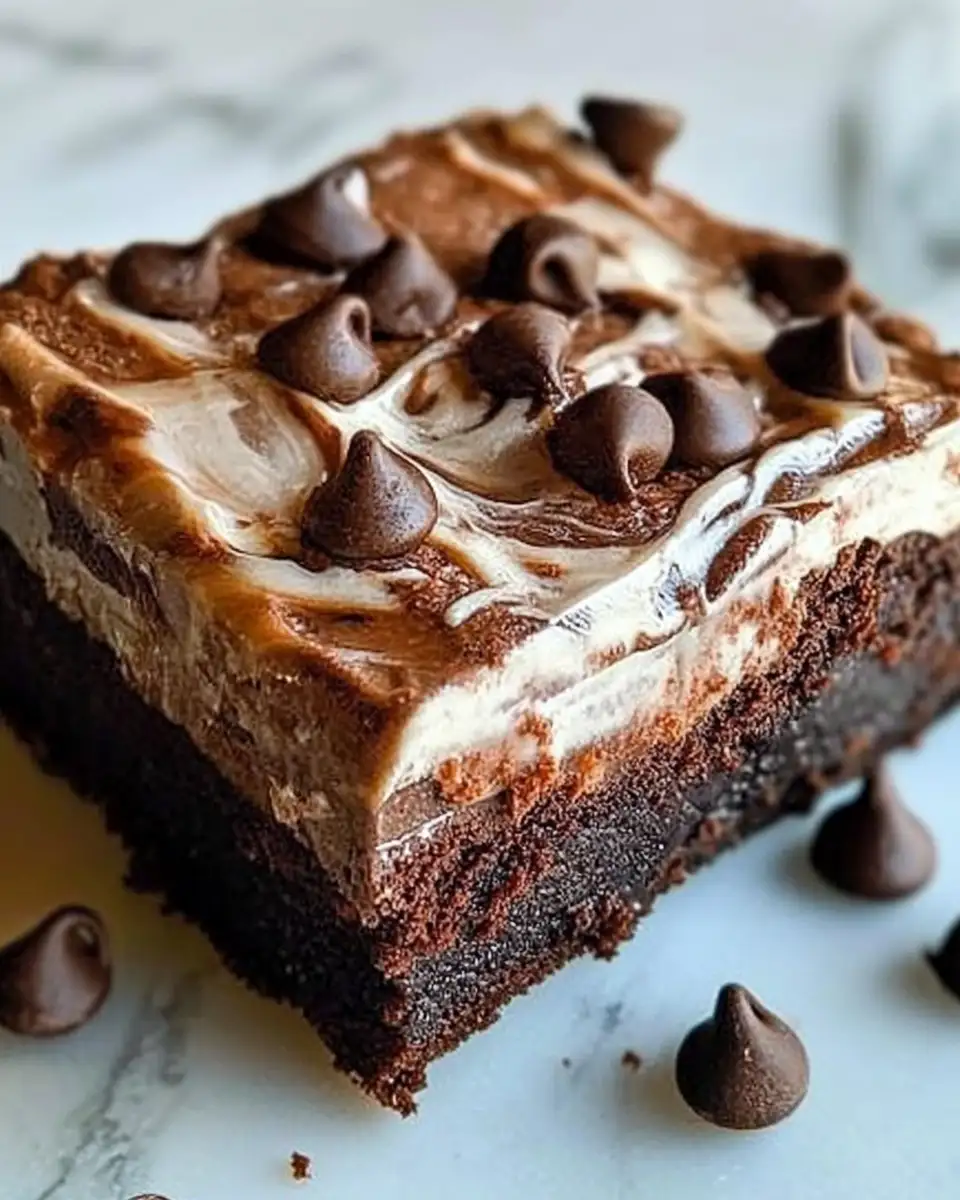
There’s something particularly enchanting about the way a Brownie Refrigerator Cake can transport you back to simpler times. For me, it’s reminiscent of those Sunday afternoons in Devon, where the kitchen was a bustling symphony of laughter and the clink of teacups. This cake, with its layers of rich, fudgy brownie and creamy, cold frosting, is a delightful blend of decadence and nostalgia — a testament to the kind of comfort food my mum would have cherished. It’s the kind of recipe that invites you to pull up a chair, pour yourself a mug of tea, and indulge in the memories it stirs, one luscious bite at a time.
Table of Contents
Why You’ll Love This Brownie Refrigerator Cake
Imagine the soft, chewy texture of a perfectly baked brownie, combined with the creamy silkiness of a chilled frosting, and you have the essence of this Brownie Refrigerator Cake. It’s a dessert that feels like a warm hug from an old friend. Growing up in a household where the kitchen was the heart of our home, this cake embodies everything I love about baking — it’s simple yet indulgent, comforting yet elegant. Perfect for a cozy night in, or as a showstopper for a gathering, it’s a versatile treat that never fails to impress.
What sets this cake apart is its dual personality: the brownie layer, rich and dense, paired with a cool, creamy topping that adds a refreshing contrast. It’s a delightful play of textures and temperatures, much like the unpredictable weather back home in Devon. Plus, it’s an excellent make-ahead dessert, allowing the flavors to meld and intensify as it rests in the fridge, much like how stories deepen with time.
Ingredients You’ll Need for This Brownie Refrigerator Cake
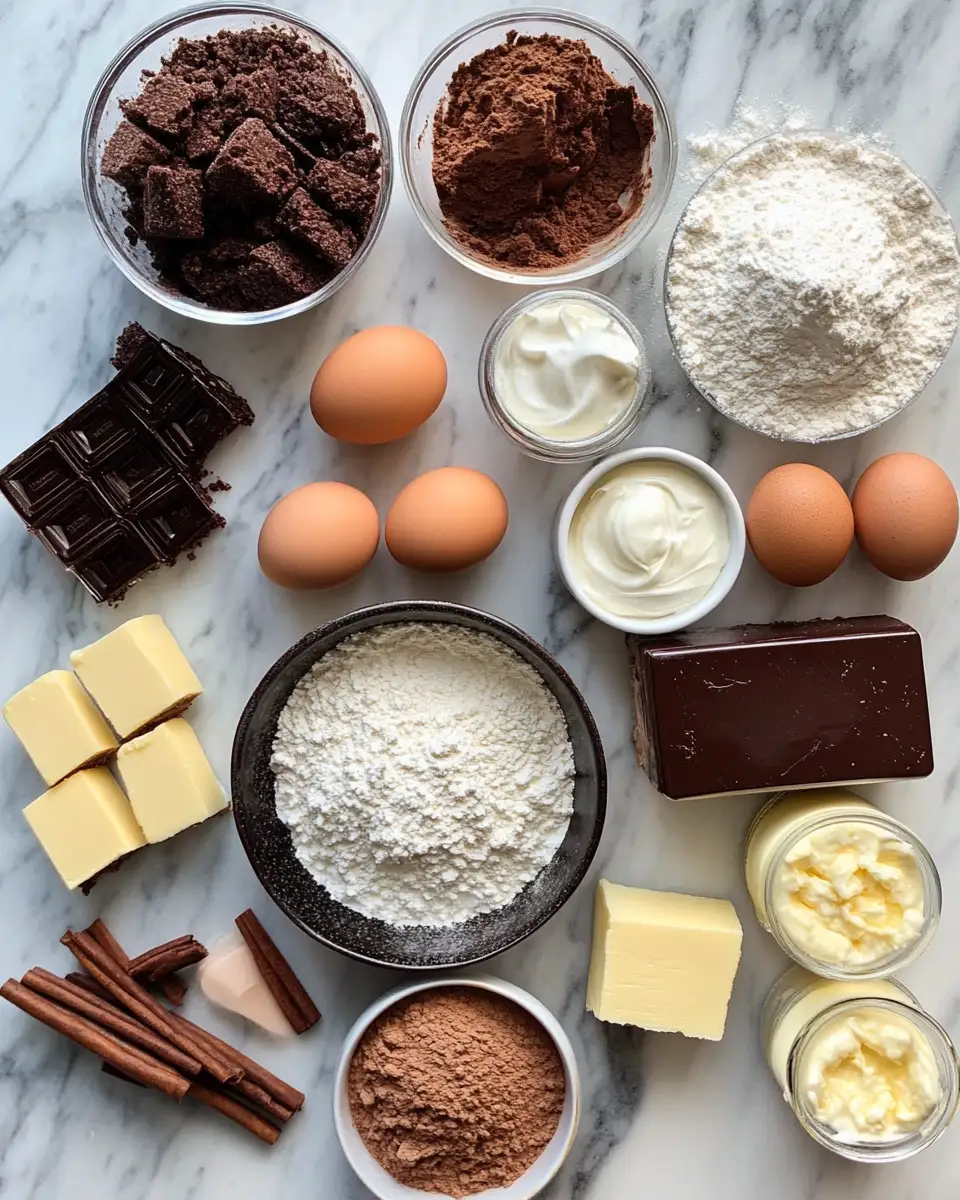
Gathering your ingredients before you start is a ritual I love. It’s a moment of calm before the creative storm, a practice my mum instilled in me. For this cake, you’ll need:
- 1 cup unsalted butter, melted
- 2 cups granulated sugar
- 4 large eggs
- 1 teaspoon vanilla extract (a nod to those cozy Devon nights)
- 1 cup all-purpose flour
- 1 cup unsweetened cocoa powder
- 1/2 teaspoon salt
- 1/2 teaspoon baking powder
- 2 cups heavy whipping cream
- 1/2 cup powdered sugar
- 8 ounces cream cheese, softened
- 1 teaspoon cinnamon (because a touch of cinnamon makes everything better)
If you find yourself out of cocoa powder, dark chocolate melts beautifully as a substitute, adding a slightly richer depth to your cake.
Nutrition Facts
While this cake is a treat, it’s always good to know what’s in your indulgence. Here’s a breakdown:
- Calories: 450 per serving
- Protein: 6g
- Fat: 28g
- Carbohydrates: 48g
- Fiber: 3g
- Sugar: 34g
- Sodium: 180mg
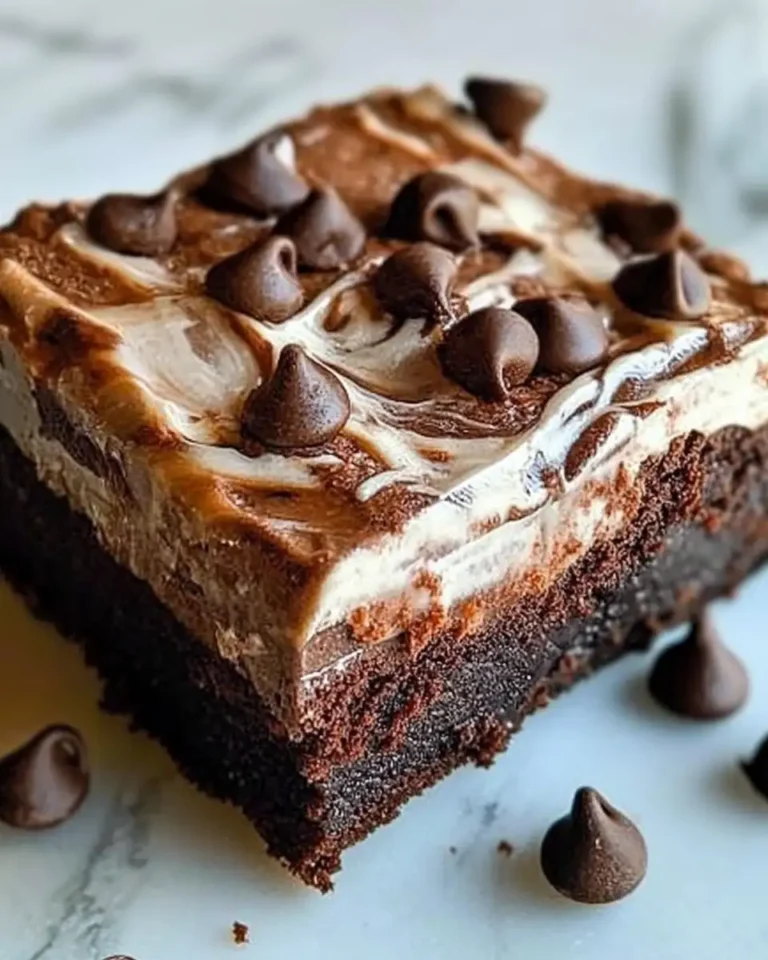
Chill Out with the Ultimate Brownie Refrigerator Cake Delight
Learn how to make delicious Brownie Refrigerator Cake. Easy recipe with step-by-step instructions.
- Total Time: 45 minutes
- Yield: 4 servings 1x
Ingredients
Gathering your ingredients before you start is a ritual I love. It’s a moment of calm before the creative storm, a practice my mum instilled in me. For this cake, you’ll need:
- 1 cup unsalted butter, melted
- 2 cups granulated sugar
- 4 large eggs
- 1 teaspoon vanilla extract (a nod to those cozy Devon nights)
- 1 cup all-purpose flour
- 1 cup unsweetened cocoa powder
- 1/2 teaspoon salt
- 1/2 teaspoon baking powder
- 2 cups heavy whipping cream
- 1/2 cup powdered sugar
- 8 ounces cream cheese, softened
- 1 teaspoon cinnamon (because a touch of cinnamon makes everything better)
If you find yourself out of cocoa powder, dark chocolate melts beautifully as a substitute, adding a slightly richer depth to your cake.
Instructions
Creating this cake is like weaving a story — each step adds a new layer of flavor and texture. Here’s how:
- Preheat your oven to 350°F (175°C). Grease a 9×13 inch baking pan or line it with parchment paper.
- In a large bowl, mix the melted butter and granulated sugar until well combined. Add the eggs one at a time, beating well after each addition, then stir in the vanilla extract.
- In another bowl, whisk together the flour, cocoa powder, salt, and baking powder. Gradually add this to the wet mixture, stirring until just combined.
- Pour the batter into the prepared pan and smooth the top with a spatula. Bake for 20-25 minutes or until a toothpick inserted into the center comes out with a few moist crumbs.
- Let the brownie layer cool completely in the pan. This is a perfect time to brew a cup of tea and reflect, as my mum always did.
- For the frosting, beat the cream cheese until smooth. Gradually add the powdered sugar and cinnamon, then slowly incorporate the heavy whipping cream, beating until the mixture is thick and fluffy.
- Spread the frosting evenly over the cooled brownie layer. Cover and refrigerate for at least 2 hours, or overnight for best results.
- Prep Time: 15 minutes
- Cook Time: 30 minutes
- Category: Main Dish
- Method: Cooking
- Cuisine: International
Steps to Create Your Brownie Refrigerator Cake
Creating this cake is like weaving a story — each step adds a new layer of flavor and texture. Here’s how:
- Preheat your oven to 350°F (175°C). Grease a 9×13 inch baking pan or line it with parchment paper.
- In a large bowl, mix the melted butter and granulated sugar until well combined. Add the eggs one at a time, beating well after each addition, then stir in the vanilla extract.
- In another bowl, whisk together the flour, cocoa powder, salt, and baking powder. Gradually add this to the wet mixture, stirring until just combined.
- Pour the batter into the prepared pan and smooth the top with a spatula. Bake for 20-25 minutes or until a toothpick inserted into the center comes out with a few moist crumbs.
- Let the brownie layer cool completely in the pan. This is a perfect time to brew a cup of tea and reflect, as my mum always did.
- For the frosting, beat the cream cheese until smooth. Gradually add the powdered sugar and cinnamon, then slowly incorporate the heavy whipping cream, beating until the mixture is thick and fluffy.
- Spread the frosting evenly over the cooled brownie layer. Cover and refrigerate for at least 2 hours, or overnight for best results.
Tips for Making the Best Brownie Refrigerator Cake
Over the years, I’ve learned a few tricks to ensure this cake is always a hit:
“The secret ingredient is always a pinch of love — and a touch of cinnamon.”
Ensure your cream cheese is softened to avoid lumps in your frosting. If you’re in a hurry, a quick zap in the microwave can help. When baking the brownie layer, avoid overbaking — it should be slightly underdone to stay moist and chewy. Remember, this cake is all about layers of texture and flavor, so give it the time it needs in the fridge to develop its full potential.
Serving Suggestions and Pairings
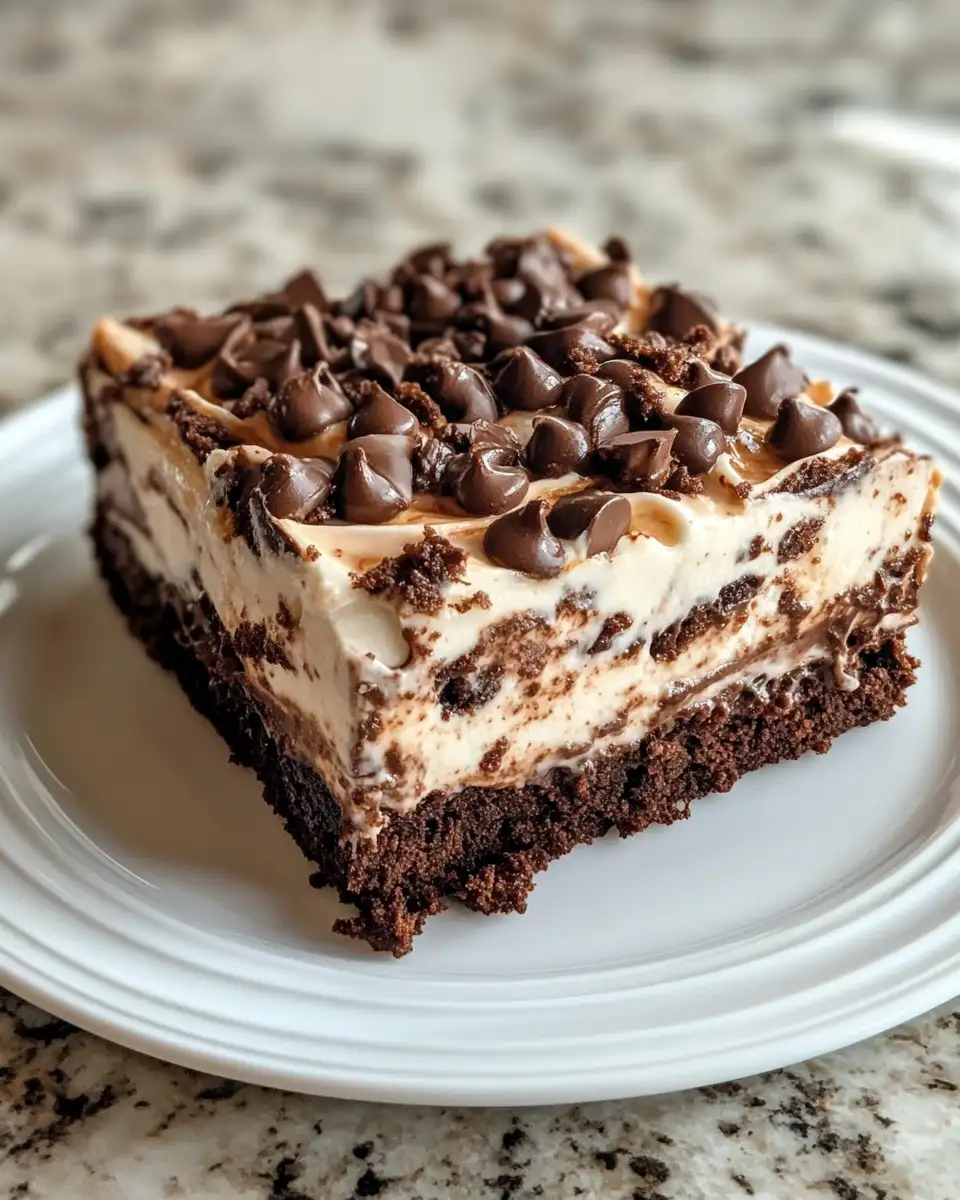
This Brownie Refrigerator Cake is a versatile dessert, perfect for any occasion. Serve it with a dollop of whipped cream or a scoop of vanilla ice cream for an extra touch of indulgence. For a more sophisticated pairing, a glass of port or a robust cup of espresso can complement the cake’s richness beautifully. It’s also a delightful addition to a Sunday roast gathering, much like those I enjoyed in my childhood home, surrounded by family and friends.
Storage and Reheating Tips
If you have any leftovers (a rarity in my experience), store the cake in an airtight container in the refrigerator for up to 5 days. The flavors continue to deepen, making it even more delicious with time. For a slightly warm slice, which I find particularly comforting, allow it to sit at room temperature for about 30 minutes before serving. Avoid reheating in the microwave, as it can alter the texture of the frosting.
Frequently Asked Questions
What are the main ingredients for Brownie Refrigerator Cake?
The main ingredients for Brownie Refrigerator Cake include the items listed in our ingredients section above. Each ingredient plays a crucial role in achieving the perfect flavor and texture.
How long does it take to make Brownie Refrigerator Cake?
The total time to make Brownie Refrigerator Cake includes both preparation and cooking time. Check the recipe card above for exact timing details.
Can I make Brownie Refrigerator Cake ahead of time?
Yes, Brownie Refrigerator Cake can often be prepared in advance. Store it properly in an airtight container in the refrigerator and consume within the recommended timeframe.
What can I serve with Brownie Refrigerator Cake?
Brownie Refrigerator Cake pairs well with various sides and accompaniments. Consider the serving suggestions mentioned in the recipe for the best dining experience.
Is Brownie Refrigerator Cake suitable for special diets?
Depending on the ingredients used, Brownie Refrigerator Cake may be adapted for various dietary needs. Check the ingredients list and consider substitutions as needed for your dietary requirements.
Final Thoughts
This Brownie Refrigerator Cake is more than just a dessert; it’s a celebration of memories and the warmth of home. Each bite is a reminder of the kitchen where I grew up, filled with the aromas of my mum’s baking and the laughter of loved ones. May this recipe bring a touch of that magic into your own home, inviting you to create new memories with every slice. As I often remind myself, the best recipes are those that tell a story — and now, this cake is part of yours.

